First, let’s check the default OpenCV version on Colab.
import cv2
cv2.__version__
Let’s Begin
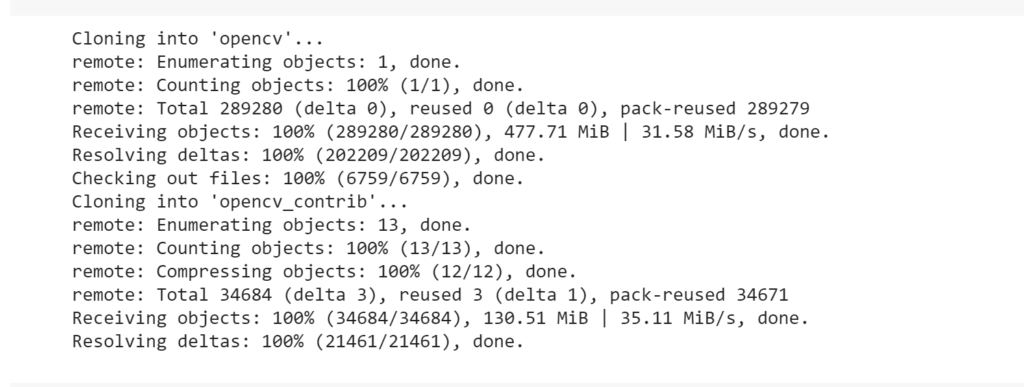
Step 1) Clone the latest OpenCV build from GitHub
#Clone the OpenCV repository
!git clone https://github.com/opencv/opencv
!git clone https://github.com/opencv/opencv_contrib

#Create a build folder and navigate to it
!mkdir build
%cd build
Step 2) Next, run the cmake command
- Set the parameters WITH_CUDA=ON and WITH_CUDNN=ON.
- Also, set OPENCV_DNN_CUDA=ON to use OpenCV’s DNN module.
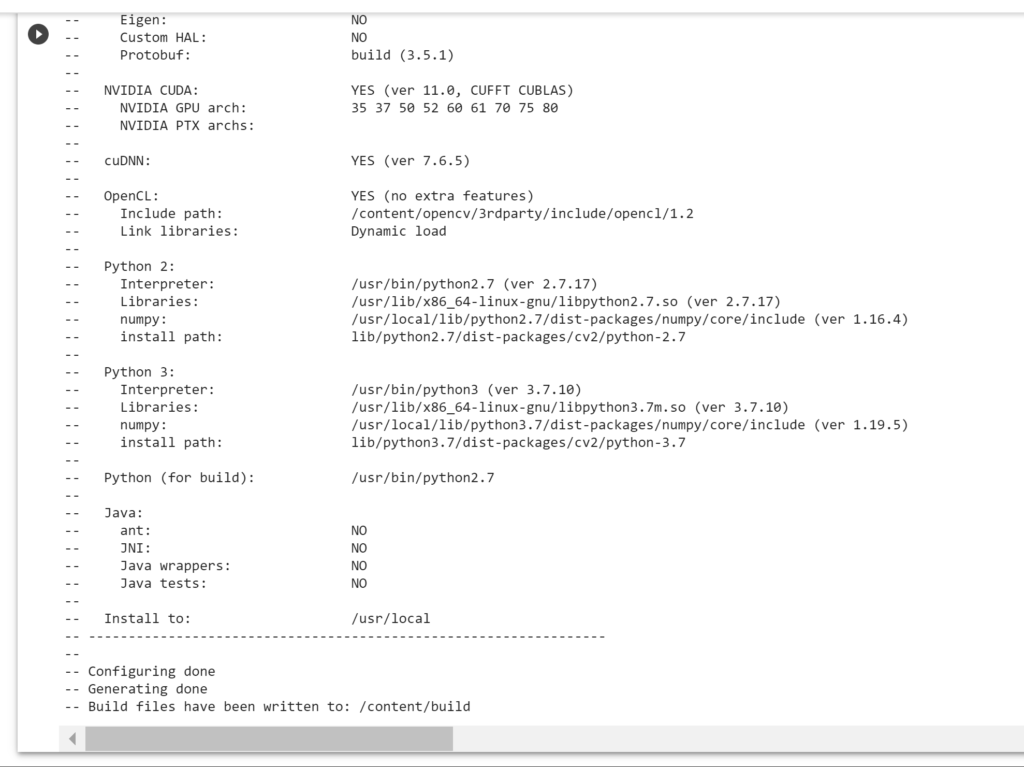
!cmake -D OPENCV_EXTRA_MODULES_PATH=../opencv_contrib/modules -DBUILD_SHARED_LIBS=OFF -DBUILD_TESTS=OFF -D BUILD_PERF_TESTS=OFF -D BUILD_EXAMPLES=OFF -D WITH_OPENEXR=OFF -D WITH_CUDA=ON -D WITH_CUBLAS=ON -D WITH_CUDNN=ON -D OPENCV_DNN_CUDA=ON ../opencvThe output for the above command will look like as shown below:
NOTE: Before moving onto the last step do the following
Use the following hack to avoid getting disconnected from the Colab VM runtime.
Press CTRL + SHIFT + i . Go to console, paste the following code and press ENTER.
function ClickConnect(){
  console.log("Working");
  document
    .querySelector("#top-toolbar > colab-connect-button")
    .shadowRoot
    .querySelector("#connect")
    .click()
}

setInterval(ClickConnect,60000)
Google Colab allows you to stay connected for a certain duration. After that, it disconnects the runtime. The above code works fine right now as of March ’21 but you should check online for any changes or updates. Read this post on StackOverflow.
Step 3) Lastly, run the make command below
!make -j8 installThe above command will take several minutes so be patient. The output for it looks like as shown below.

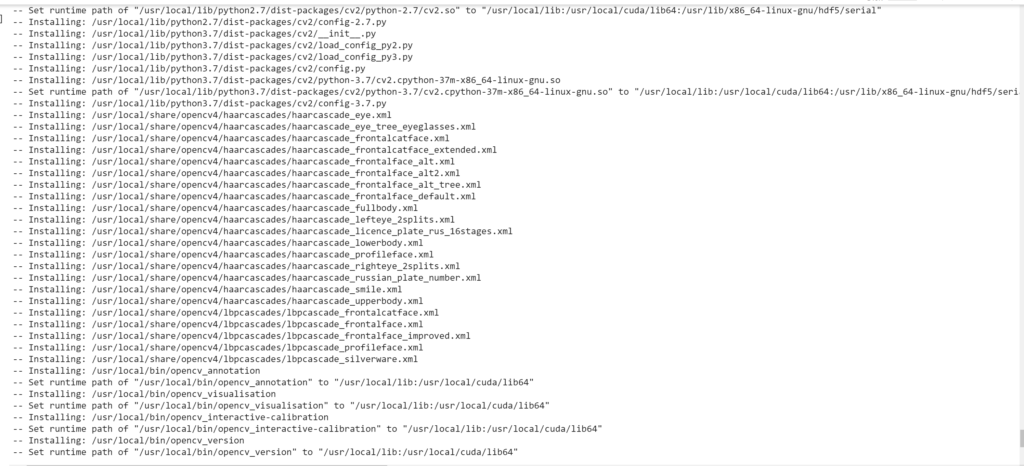
Once the above installation is finished, you must restart runtime for the new changes to take effect. Click on Runtime in the top menu and click on Restart Runtime.
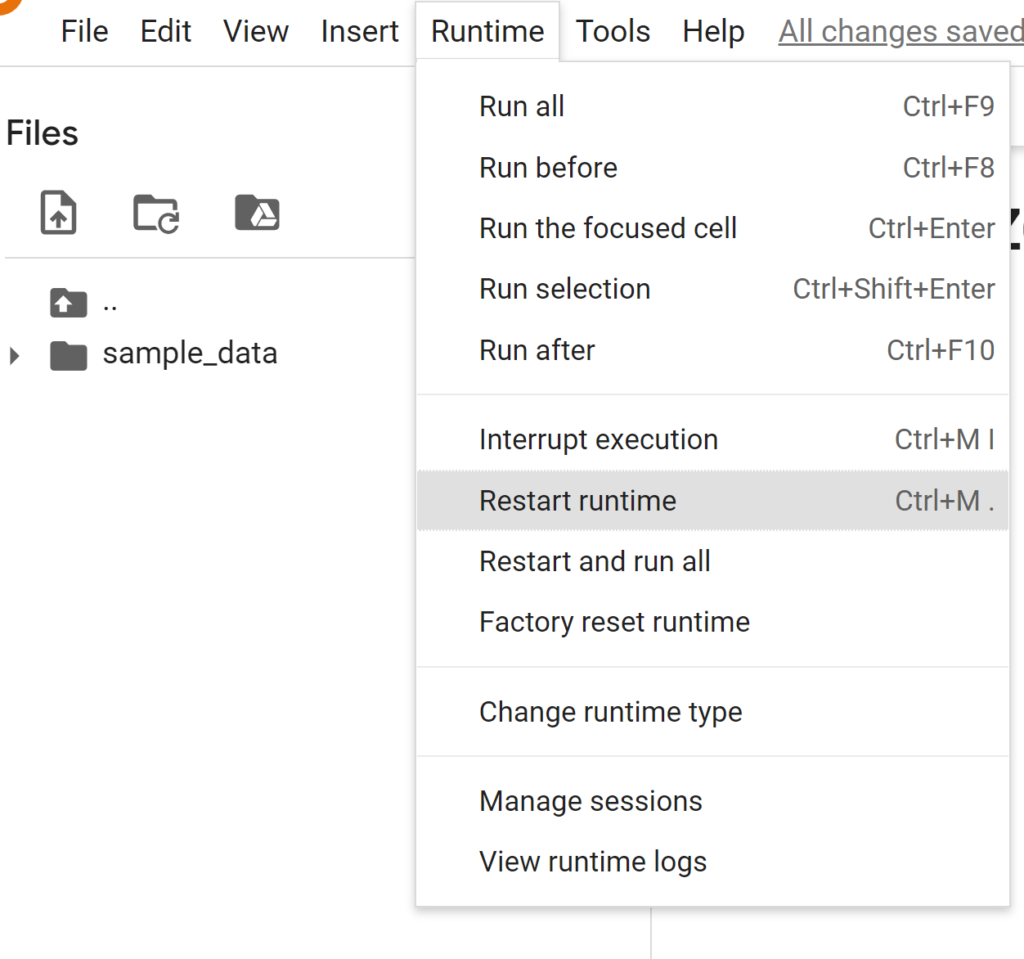
Once the runtime restarts, check the OpenCV version to verify.
import cv2
cv2.__version__
It will show the latest OpenCV build. You can now use the OpenCV-DNN module with CUDA backend for GPU in Colab.


